Display an Avatar
From exporting an avatar to displaying it in the viewer
Download
Download the viewer (VRC Avatar Viewer) from the BOOTH distribution page. The exporter will be installed from VCC (VRChat Creator Companion) in the next Step 2.
- Access the BOOTH distribution page
- Download the viewer
- Extract the downloaded ZIP file
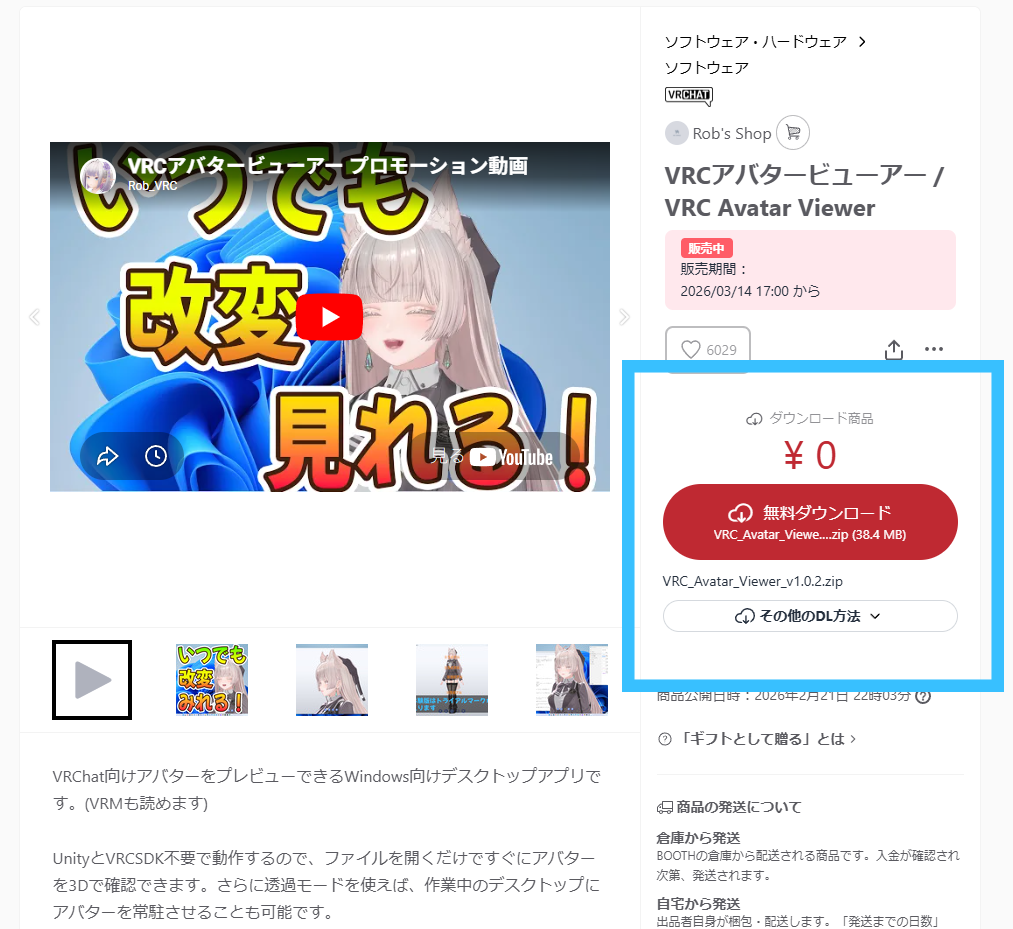
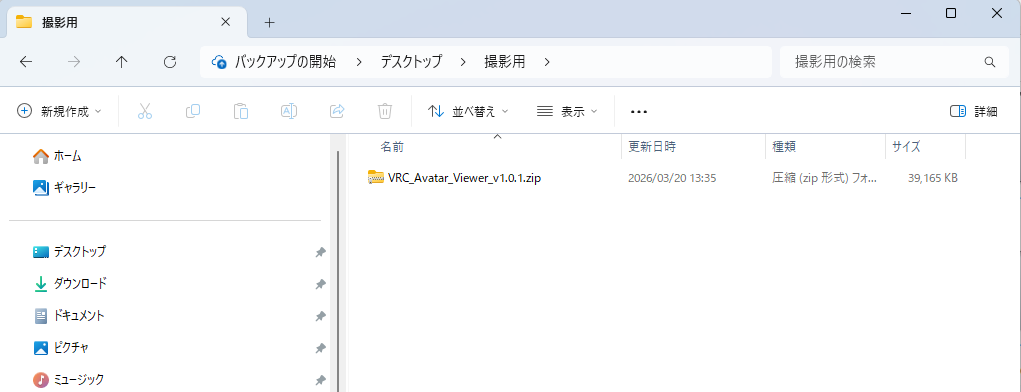
- The viewer can be launched immediately after extracting the ZIP file (no installation required)
- The exporter will be installed from VCC (VRChat Creator Companion) in the next Step 2
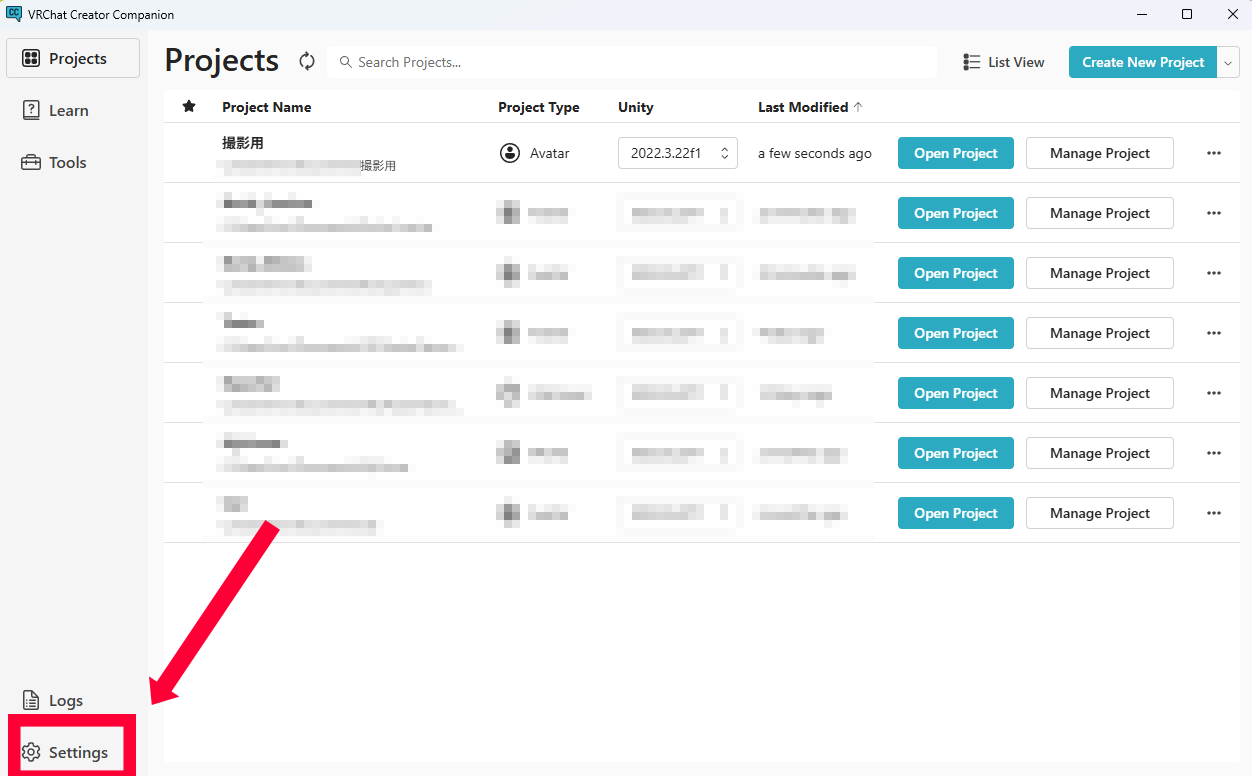
Install the Exporter
The exporter is a Unity editor extension (like a plugin). Install it from VCC (VRChat Creator Companion).
-
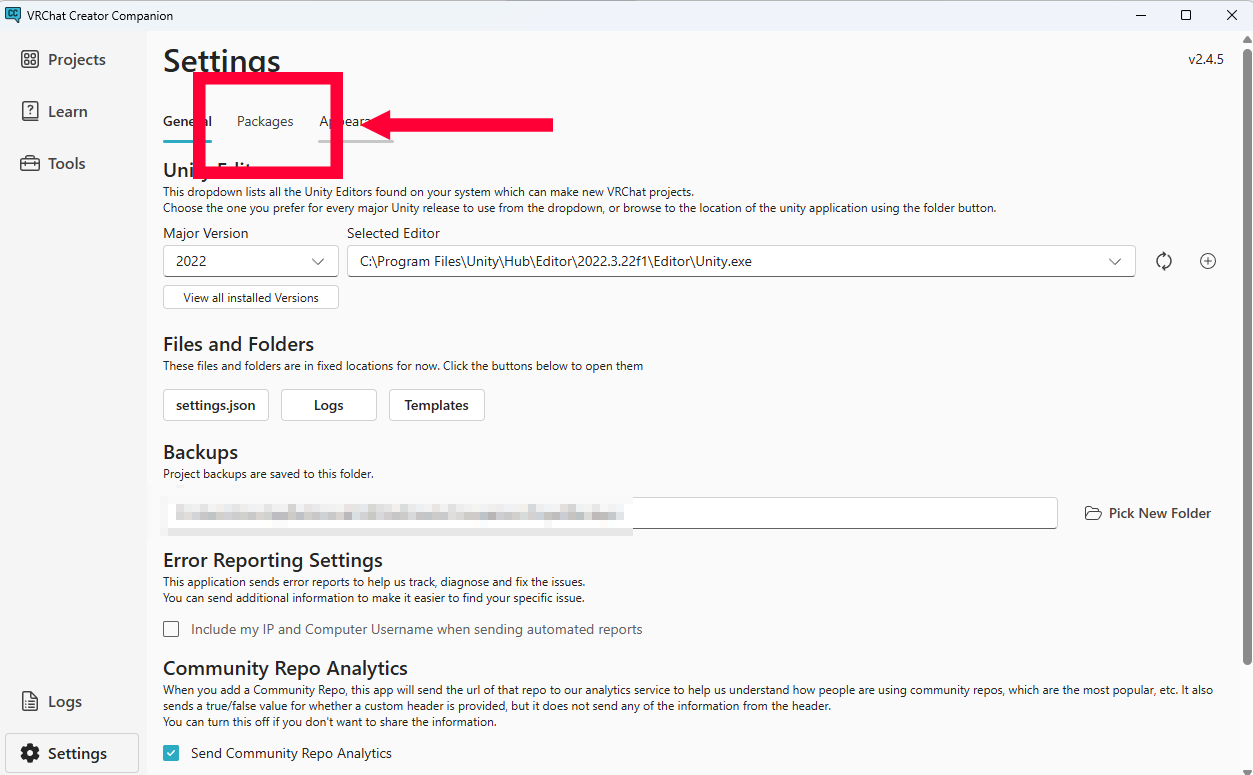
Open VCC and click
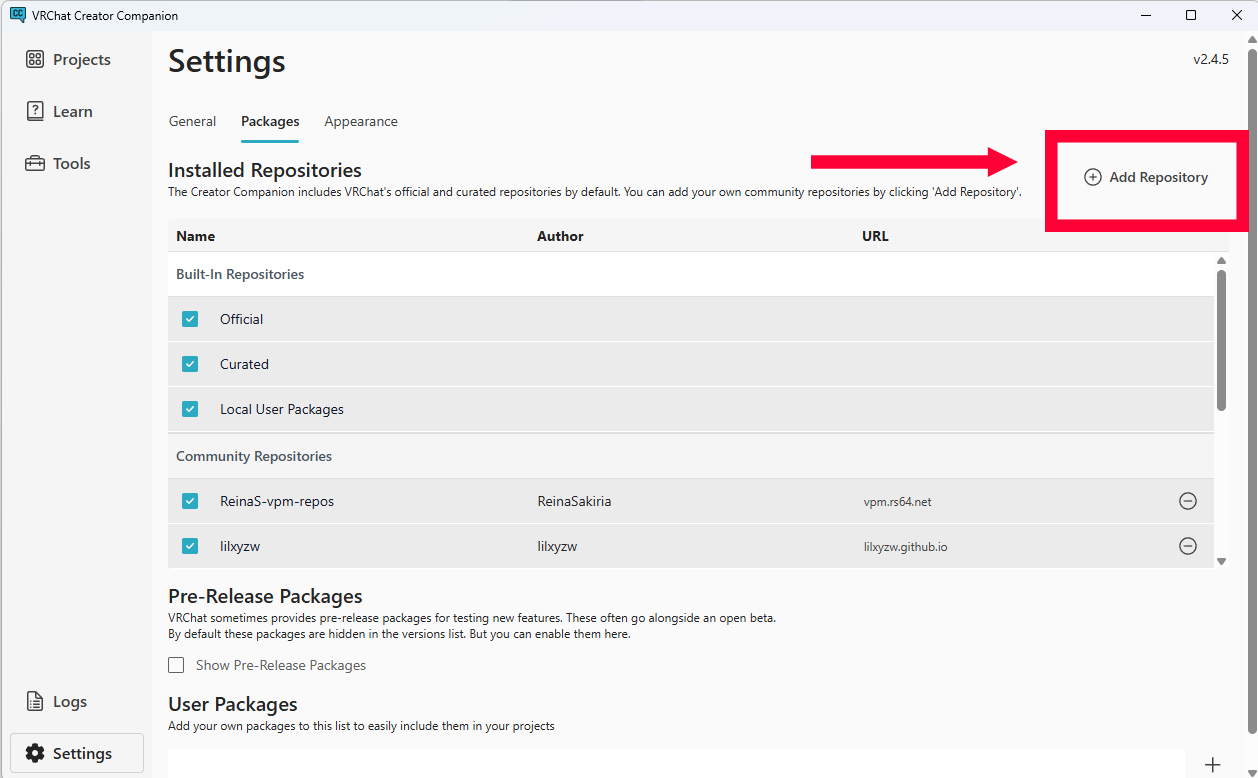
Settings→Packages→Add Repository
-
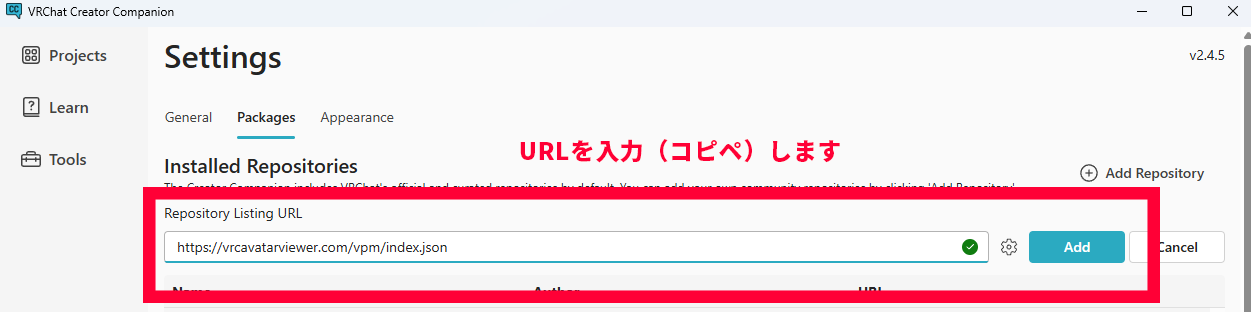
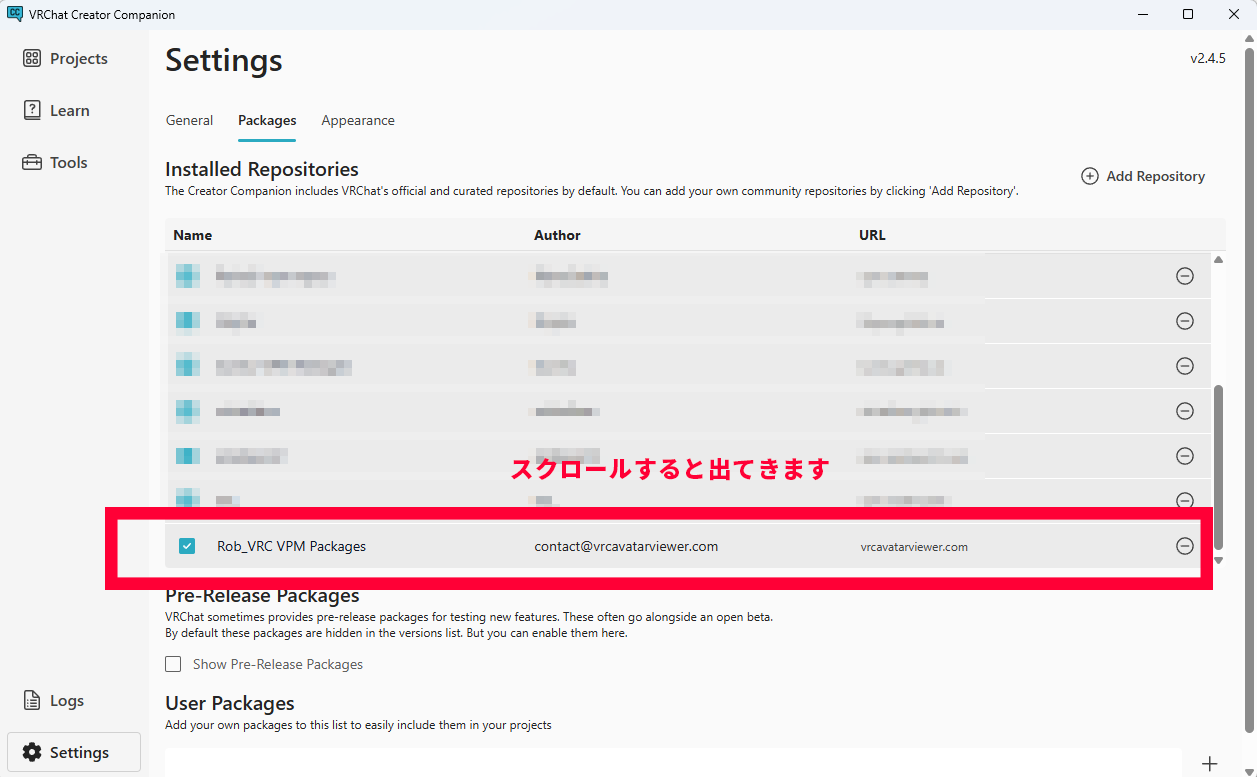
Enter and add the following URL
https://vrcavatarviewer.com/vpm/index.json
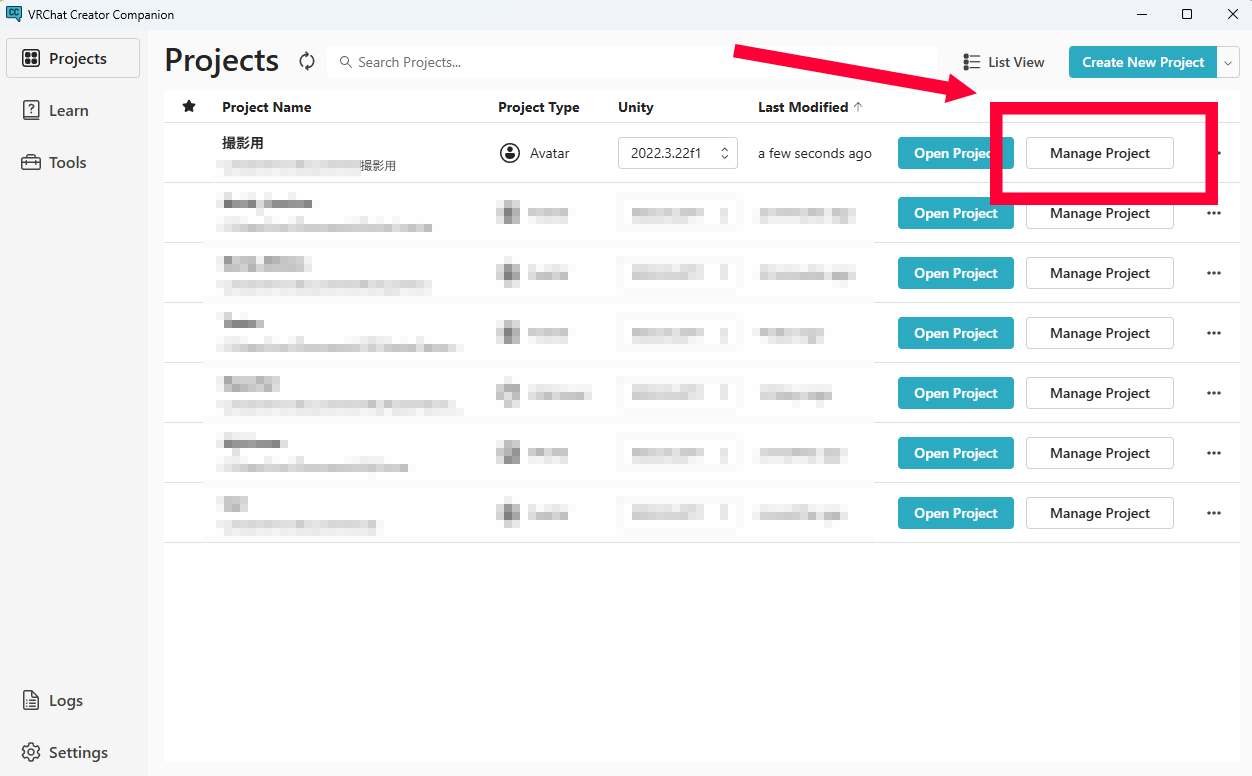
- From the VCC project list, open
Manage Projectfor your avatar project
- Find "VRC Avatar Viewer Exporter" in the package list and install it using the
+button
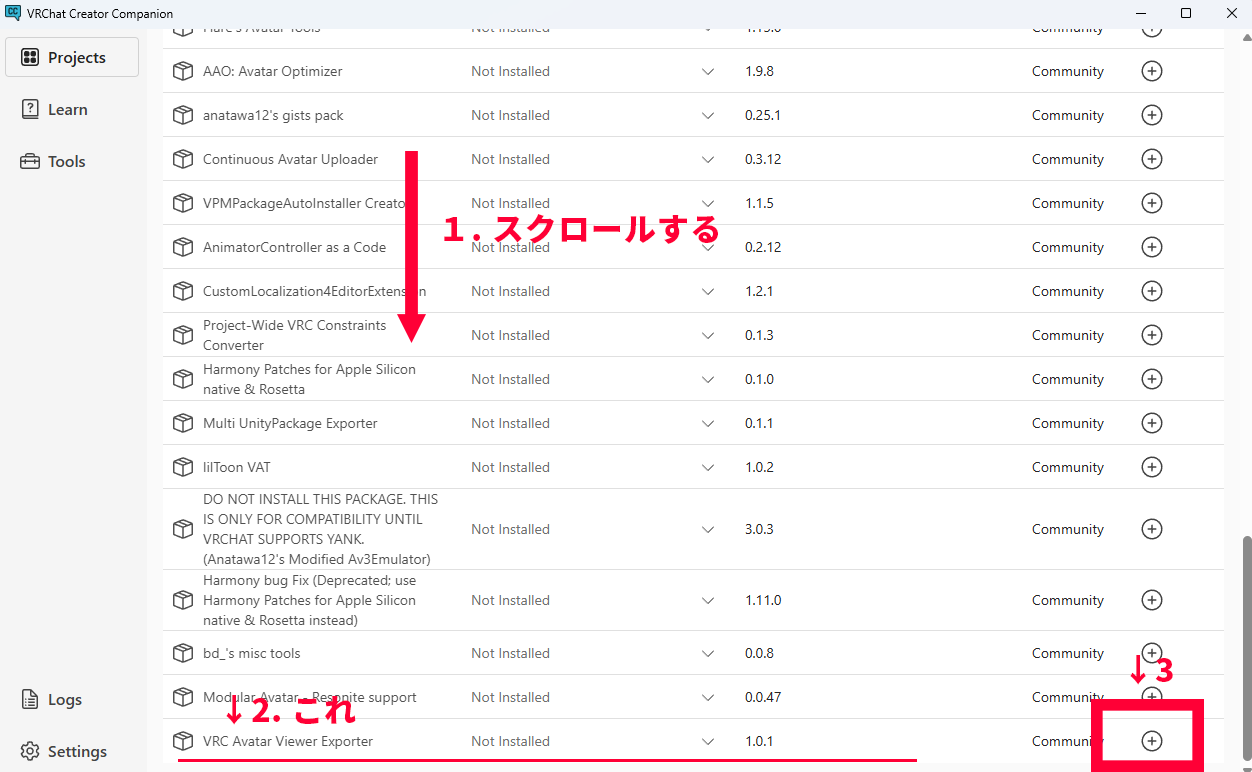
+ button for "VRC Avatar Viewer Exporter"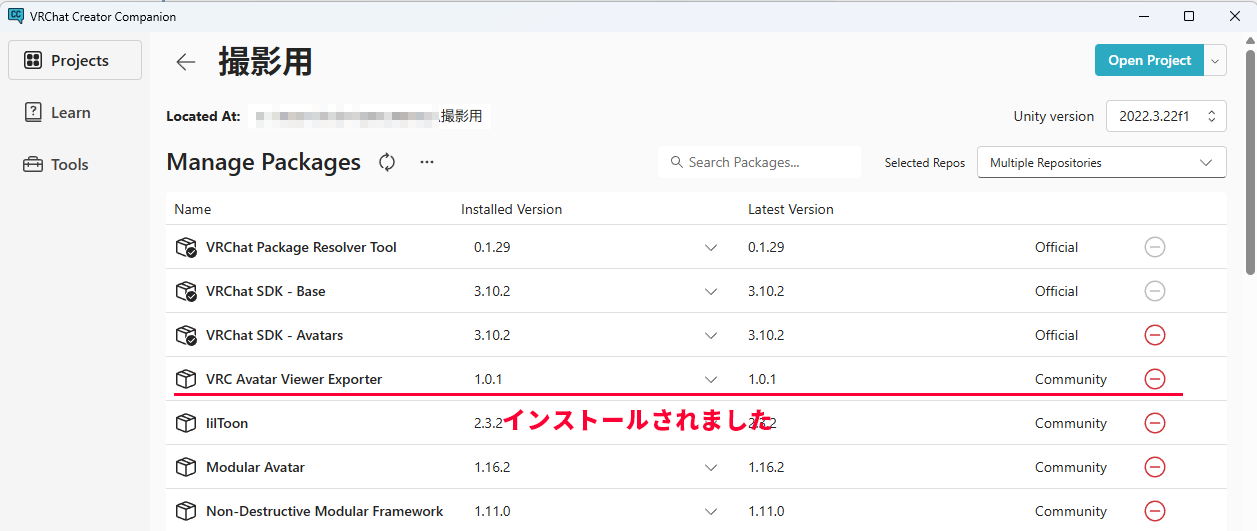
Export Your Avatar
In VRC Avatar Viewer, avatars are handled in a proprietary format called
.avab. Use the exporter to convert your avatar to this format.
The original avatar data will not be modified at all, so you can work with peace of mind.
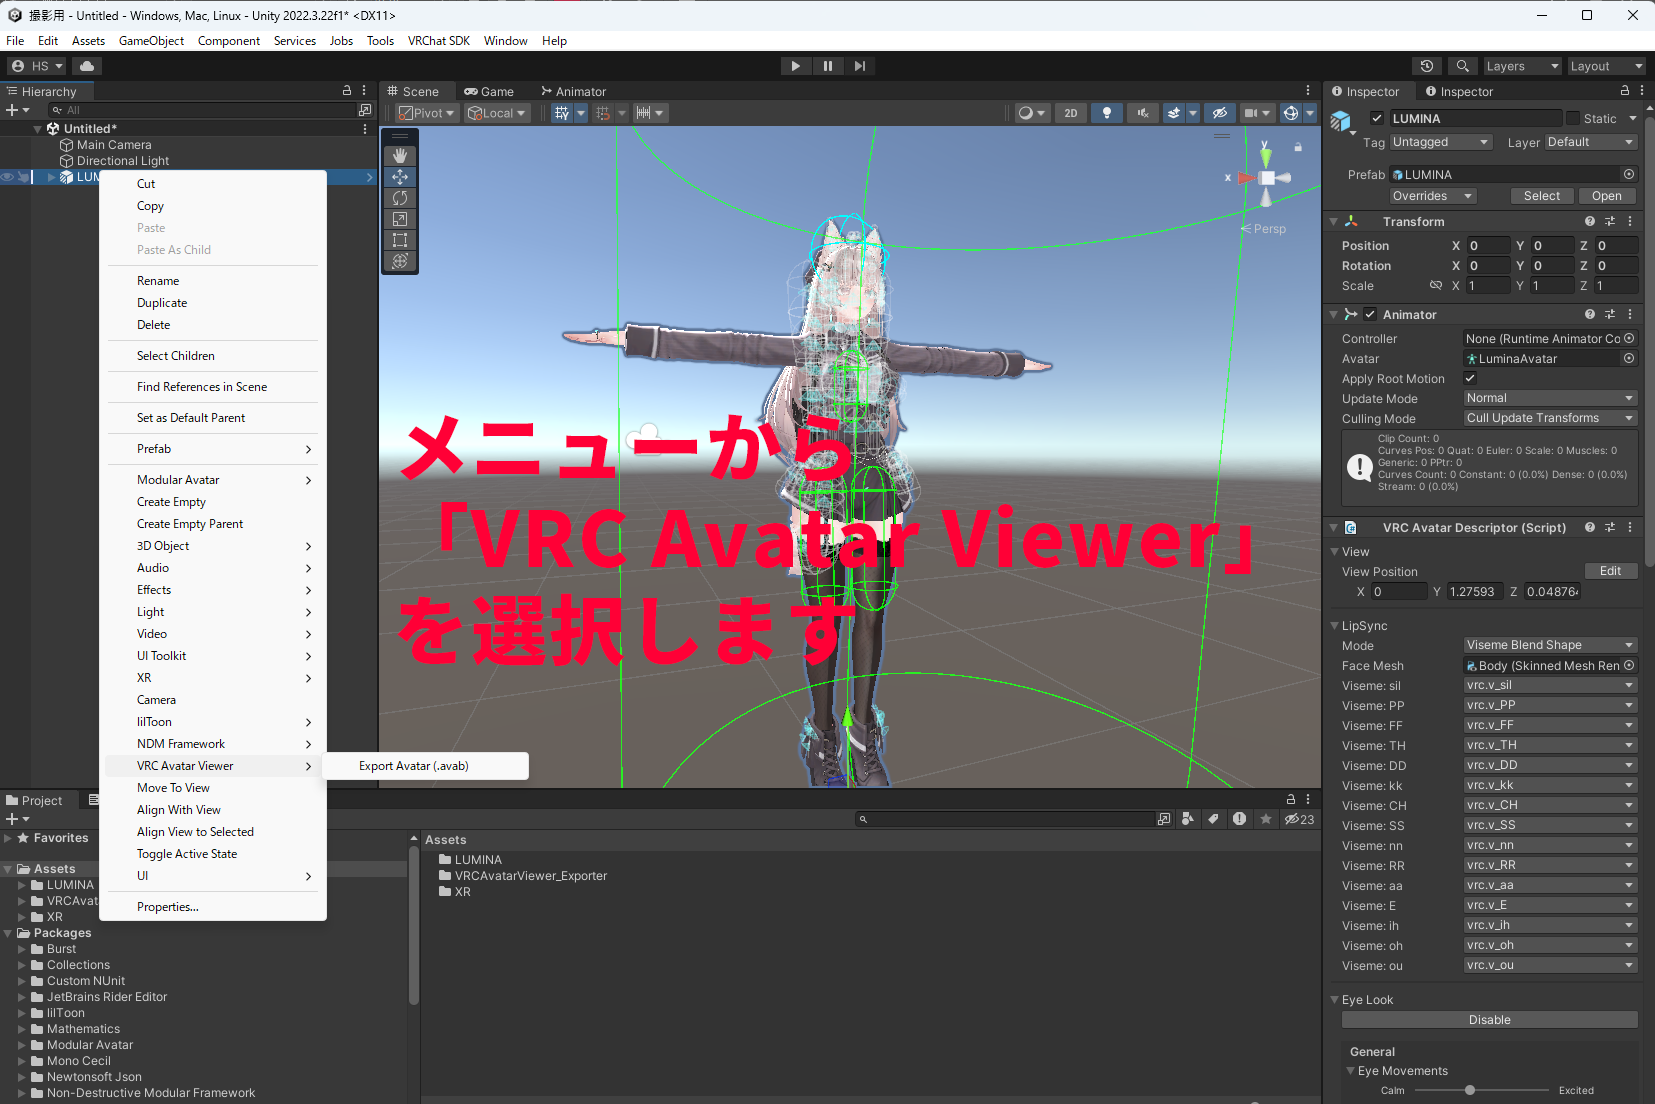
- Select the avatar you want to export in Unity's Hierarchy (the object list on the left side of the screen) Click the root (topmost parent object) of the avatar
- With it selected, right-click →
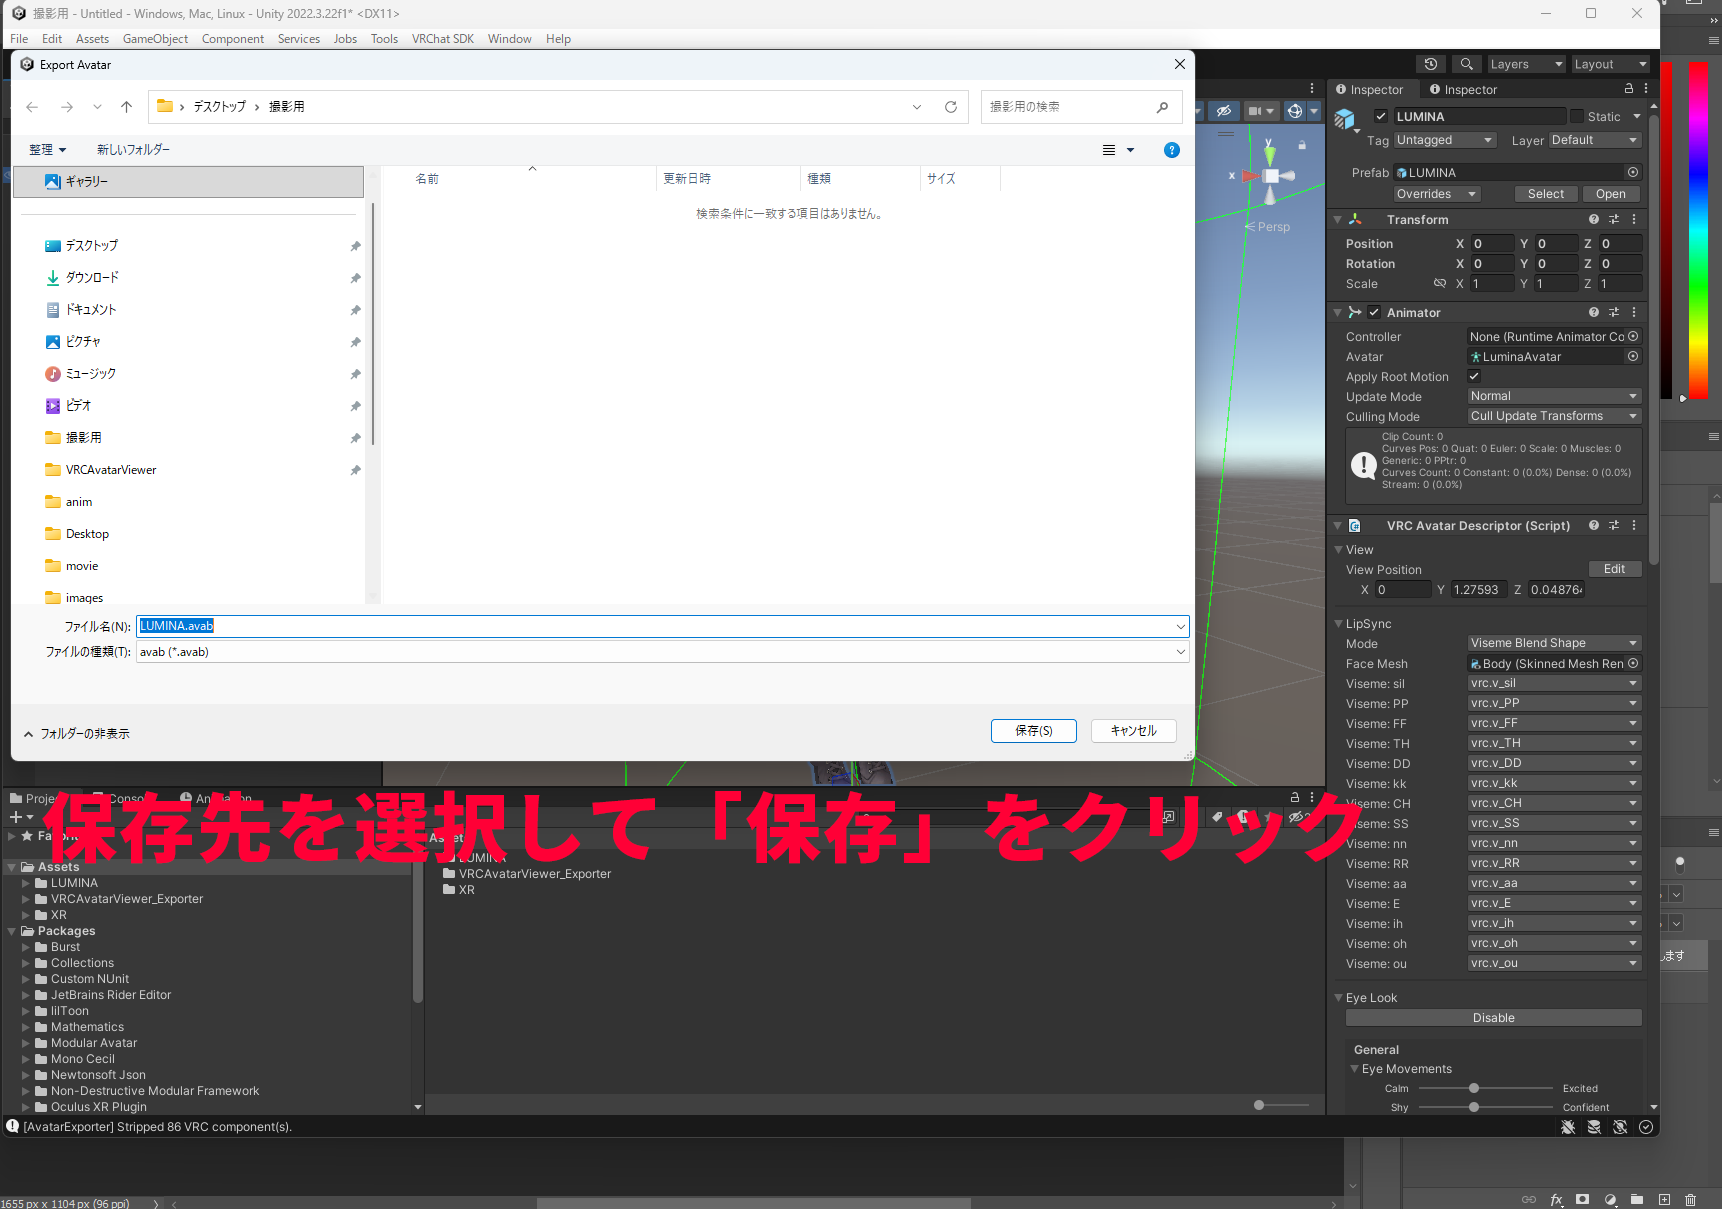
VRC Avatar Viewer→Export Avatar (.avab) - A save dialog will appear. Choose the save location and filename, then click "Save"
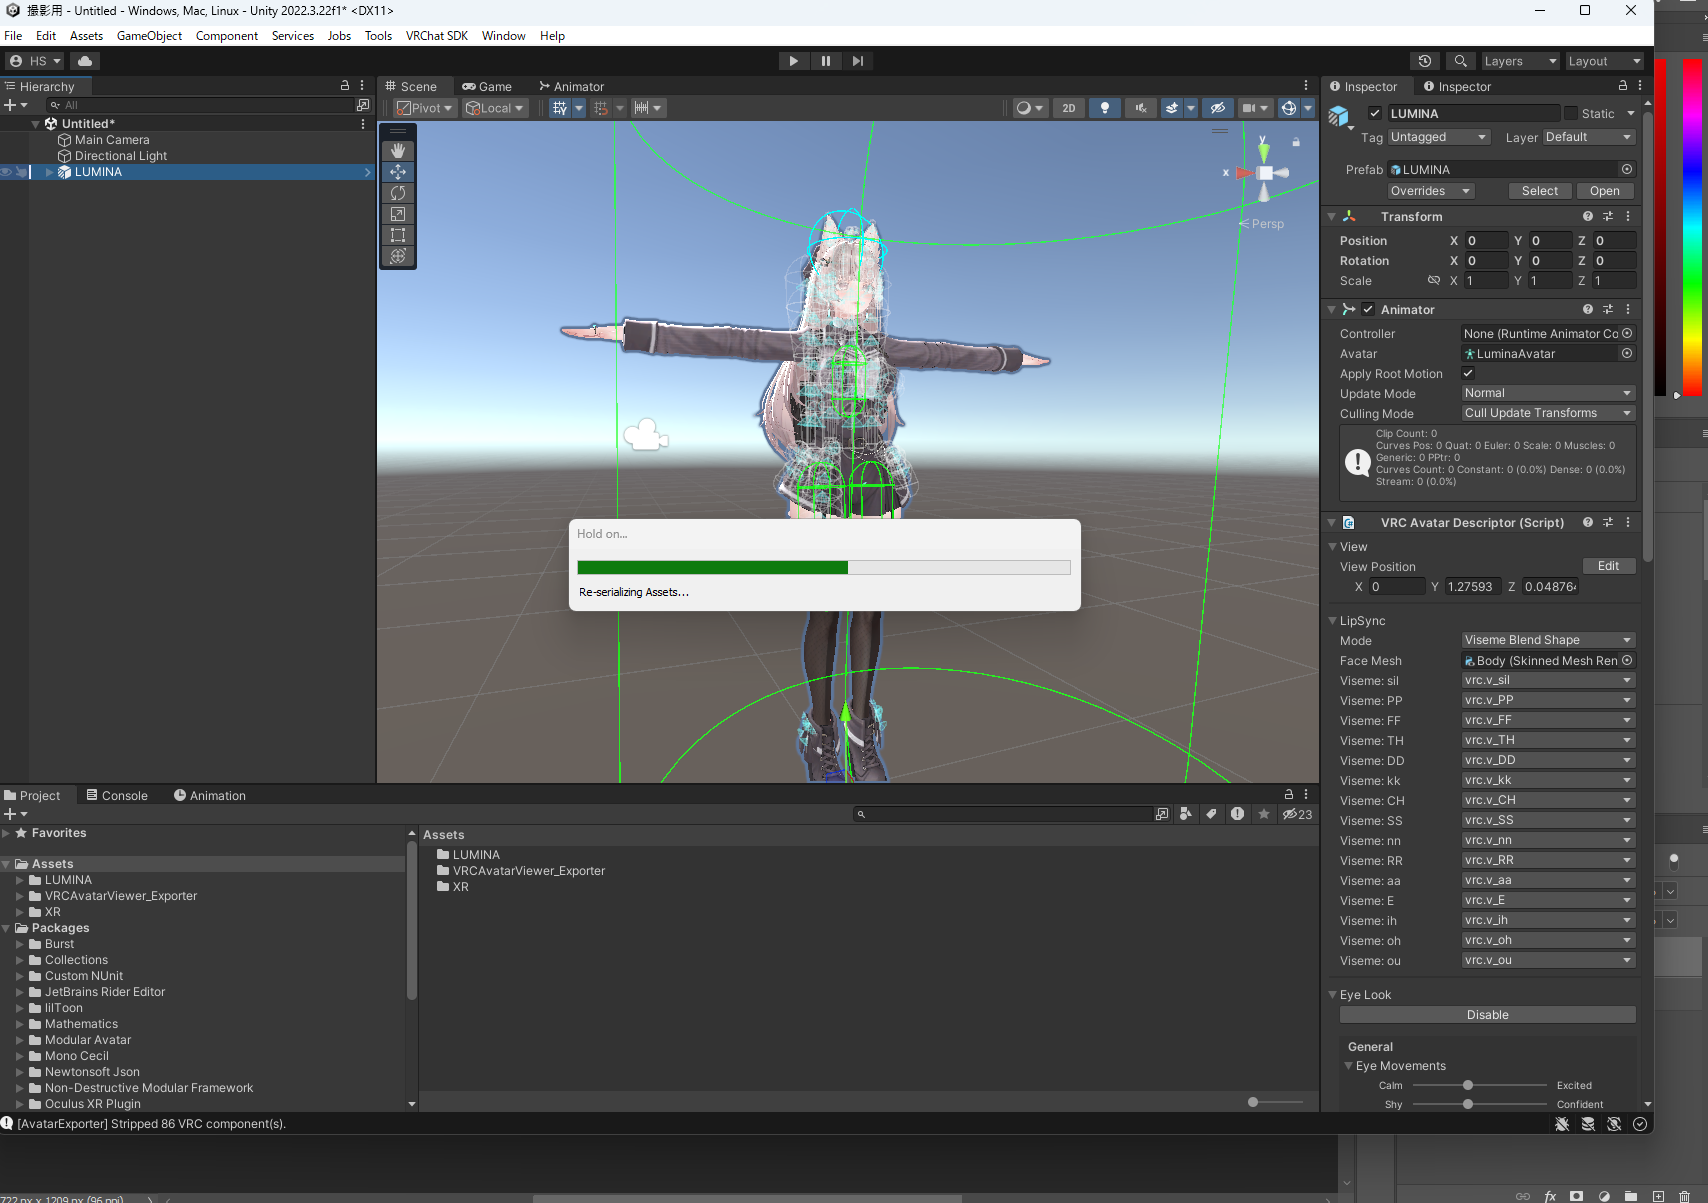
- A progress bar will appear and the export will proceed
- When "Export succeeded." is displayed, you're done
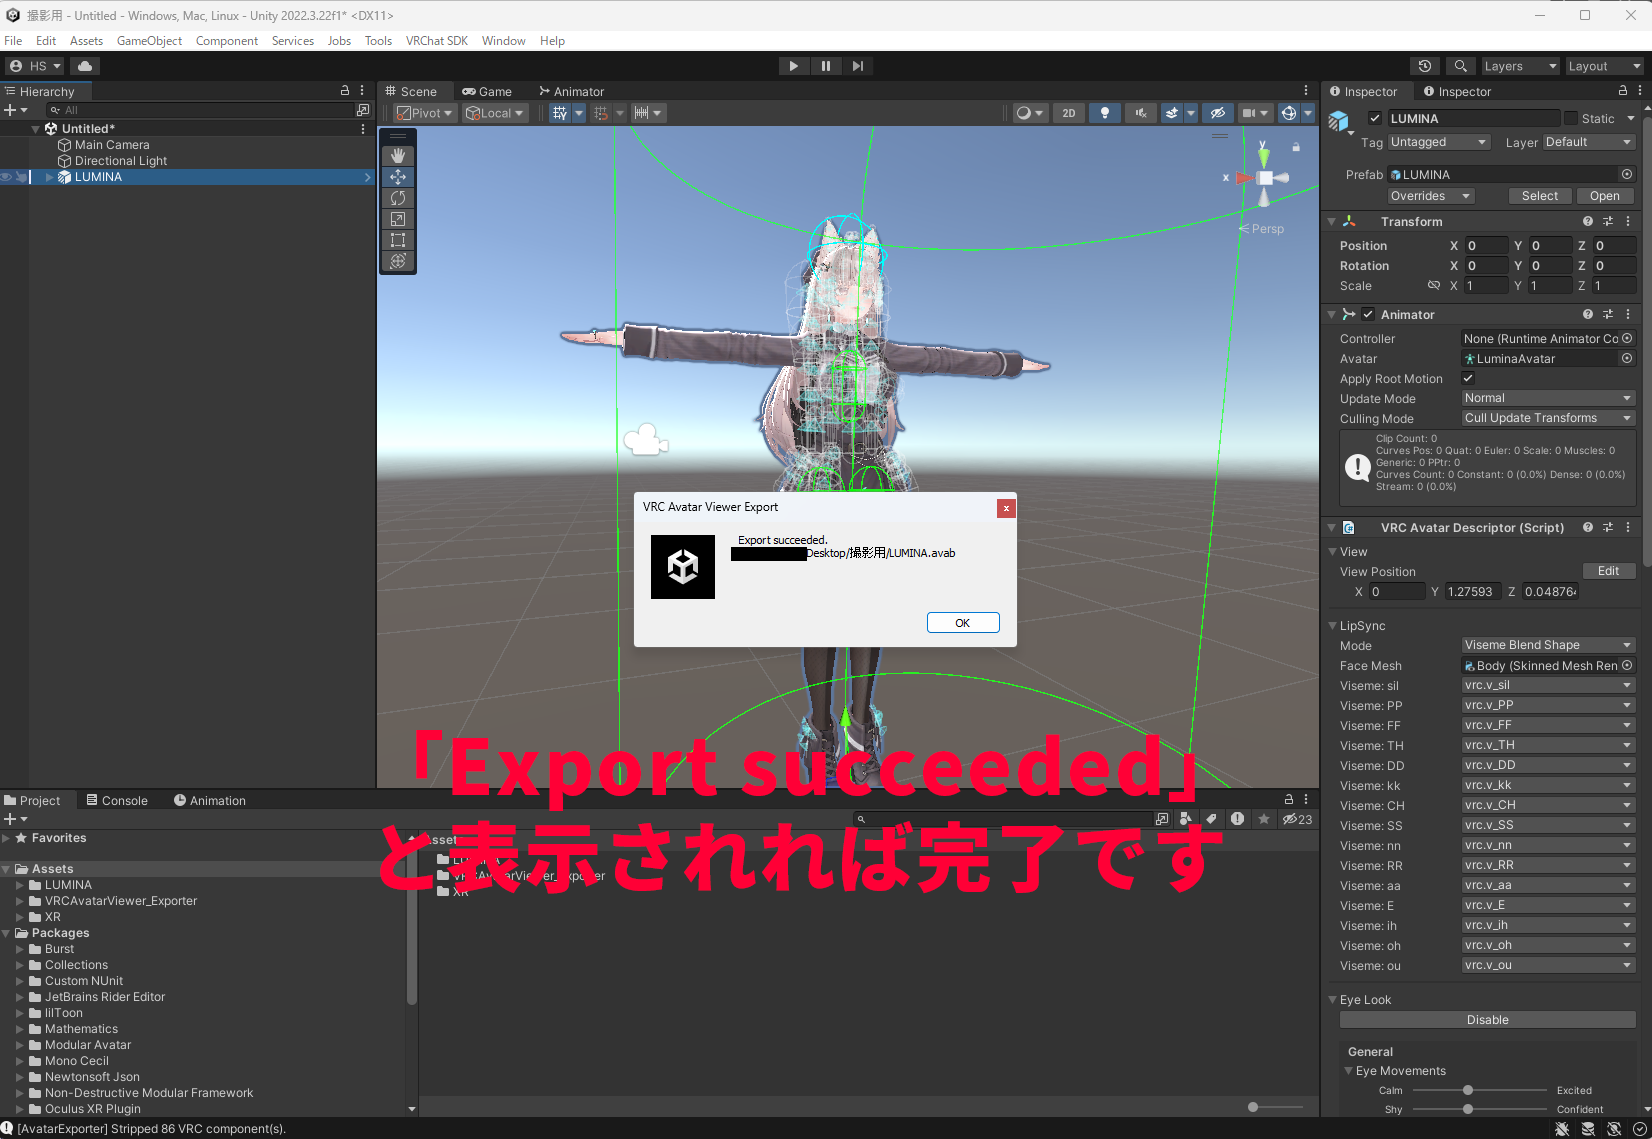
- The exported
.avabfile can be saved anywhere and can be transferred to another PC. - If you modify your avatar, export it again (overwriting is also possible)
- The viewer has a feature to specify a folder and display a list, so it's convenient to keep them in one folder
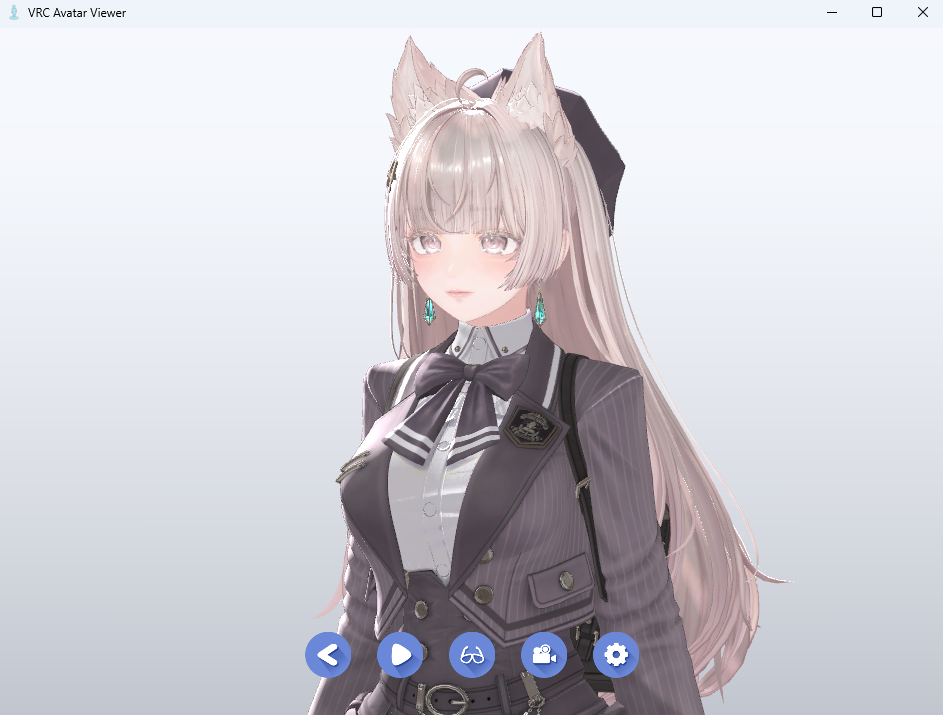
Display Your Avatar in the Viewer
Open the exported .avab file in the viewer. .vrm files are also supported. There are three methods.
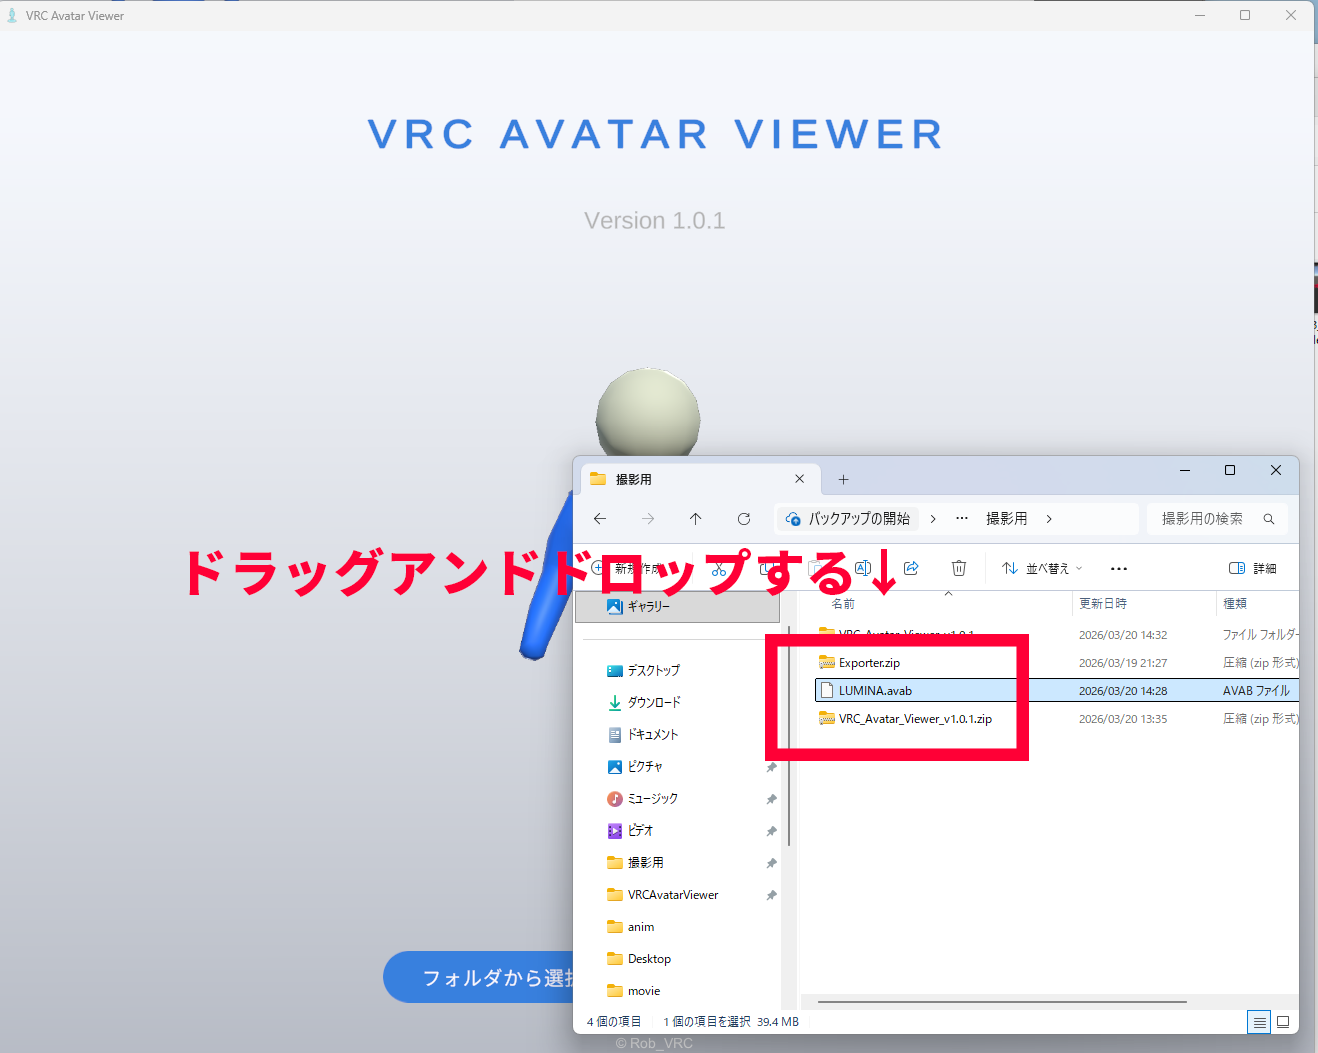
Method A: Drag and Drop (easiest, recommended)
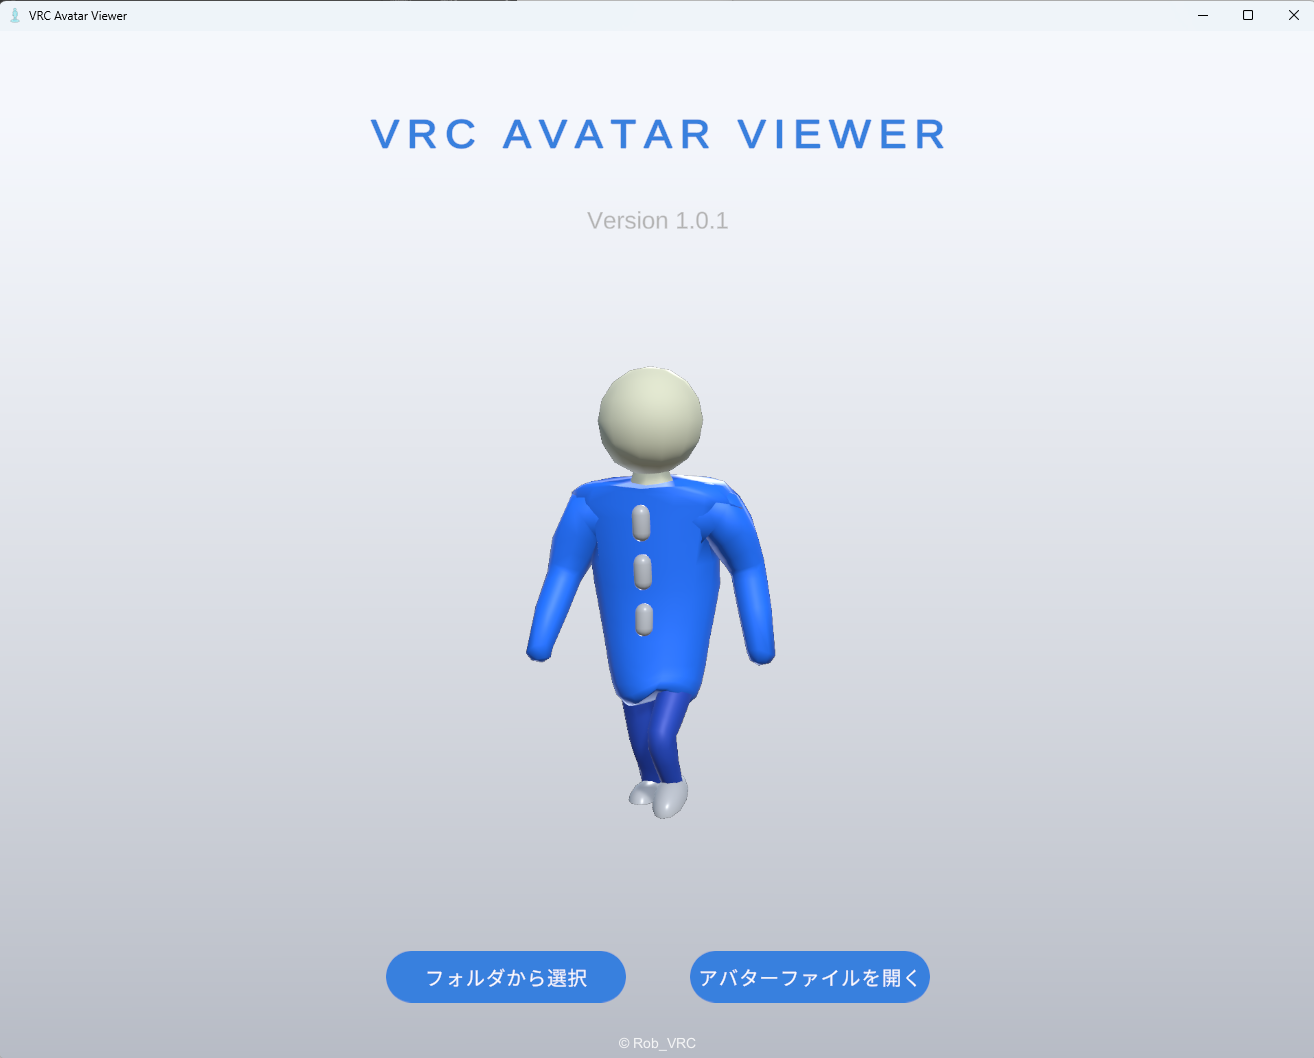
- Launch VRC Avatar Viewer
- Drag and drop the
.avabfile directly onto the viewer window - Your avatar will be displayed
Method B: Using the "Open Avatar File" button
- Launch VRC Avatar Viewer
- Click the "Open avatar file" button at the bottom of the screen
- Select the
.avabfile in the file dialog and click "Open" - Your avatar will be displayed
Method C: Select from a folder list
- Collect
.avabfiles into one folder - Launch VRC Avatar Viewer
- Click the "Select from folder" button at the bottom of the screen
- Select the folder containing the
.avabfiles - The avatar list screen will be displayed with avatars shown with thumbnails
- If needed, narrow down the avatars by using the search field in the top right
- Click the avatar you want to display
- The folder selected in Method C is remembered, so you can open the avatar list immediately on the next launch
- In the avatar list, you can go back to the previous screen or select a different folder using "Back" and "Select folder again" at the bottom of the screen
- When searching, "Filter applied" is displayed below the folder view. Click the "×" to the right of the search field to clear the input
- When you overwrite and export a
.avabfile, it is automatically reloaded on the Viewer side (no need to open it again) - Files in
.vrmformat are also supported
Basic Operations
Once your avatar is displayed, move it around freely with your mouse and take a look.
Camera Controls
| Operation | Action |
|---|---|
| Left drag | Rotate avatar |
| Right drag | Pan camera (physics objects will react) |
| Mouse wheel | Zoom in/out |
| Double-click | Reset camera |
Other Features
From the toolbar, you can access the "transparent background mode" which displays only your avatar on the desktop with a transparent background, animation playback using .anim / .vrma files, and setting menus for lighting and background color.