Output to OBS
Bring the Viewer's video into OBS for streaming and recording
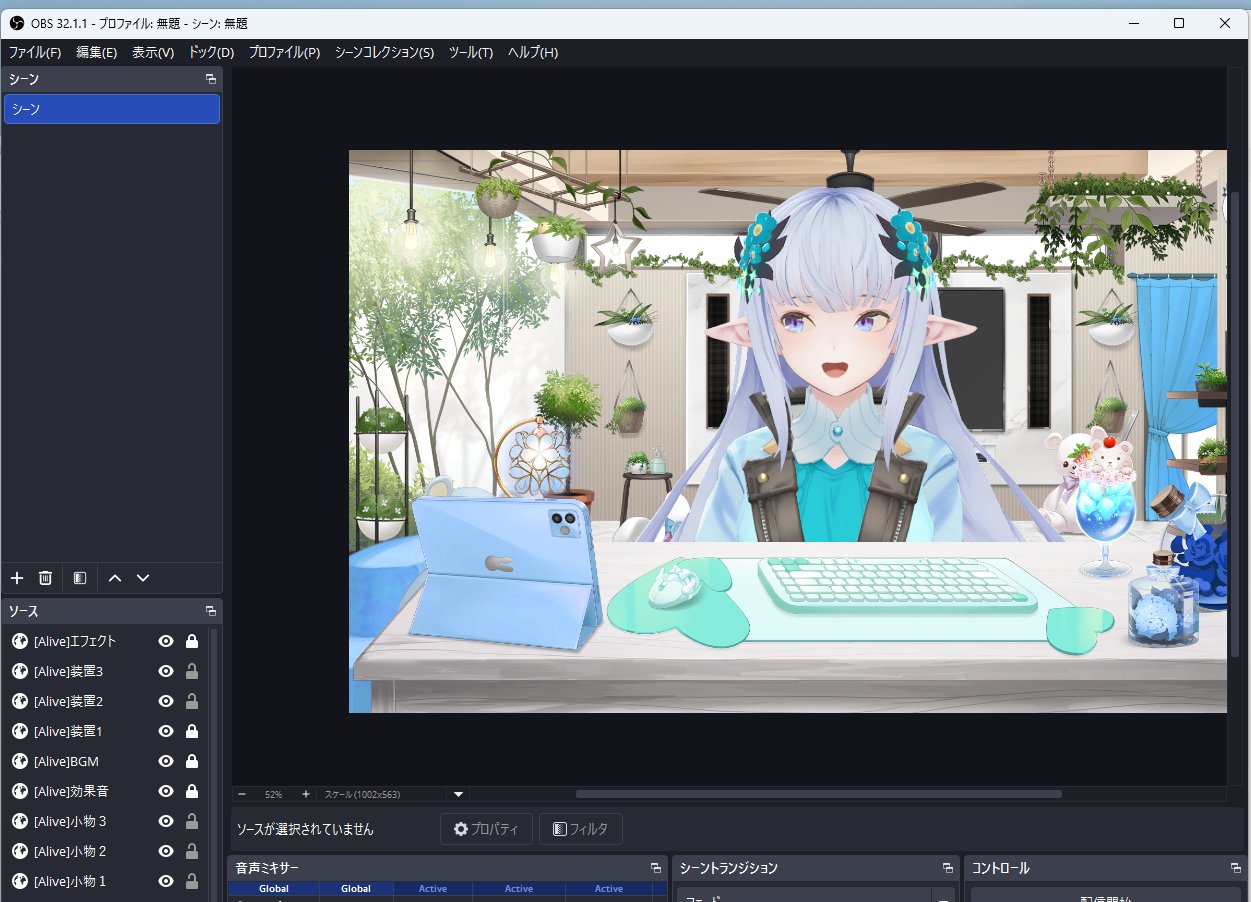
This guide explains how to bring the Viewer app's video into OBS Studio (OBS) and use it as a source for streaming or recording. There are two ways to do this, and the Spout2 method is recommended because it wins on both image quality and performance. If you'd rather not install a plugin, you can also combine background transparent mode with Window Capture.
| Method | Pros | Cons |
|---|---|---|
| Spout2 (recommended) | High quality and low latency. Transparency is passed through as-is | Requires installing a plugin in OBS |
| Background transparency + Window Capture | No plugin needed. Can also be used as a desktop mascot | Somewhat worse in image quality and load |
For how to move your avatar, see Move Your Avatar (Capture App). This guide only covers the part where you "send the moving avatar to OBS."
Install the Spout2 plugin
Spout is a mechanism for sharing video directly between apps on Windows. OBS doesn't support it out of the box, so you need to add a plugin.
- Download and install the Spout2 Plugin for OBS Studio
- Restart OBS
After installation, if "Spout2 Capture" appears in OBS's Add Source menu, the plugin was installed successfully.
Turn on Spout output in the Viewer
- Display your avatar in the Viewer app
- Open the Streaming Mode panel from the toolbar
- Start output in the Spout Output section
Spout output is configured independently of the motion input source (Capture app / VMC). You can output even when the avatar isn't being moved.
Add a source in OBS
- Click "+" in OBS's Sources list
- Select Spout2 Capture
- In the properties, choose the Viewer app's output from the list of senders
- Check that Spout output has been started in the Viewer app
- Restart OBS (a restart is required right after installing the plugin)
Make the background transparent
Because Spout can also pass the alpha channel (transparency information), you can composite the avatar in OBS while keeping the background transparent.
- Turn on background transparent mode from the Viewer app's toolbar
- In OBS, place the background source you want to use for your stream behind the avatar
- Spout output uses the same anti-aliasing as the normal display
- You can still control the avatar's camera with the mouse in background transparent mode
- The Streaming Mode panel can be opened even in background transparent mode, so you can stream while moving the avatar on your desktop
Alternative: capture the transparent window
This works well if you'd rather not install a plugin, or if you also want to use the avatar as a desktop mascot.
- Turn on background transparent mode from the Viewer app's toolbar (the background disappears, leaving only the avatar)
- In OBS, add a "Window Capture" source and select the Viewer app's window
- Crop and resize to place the avatar wherever you like
Depending on the Window Capture's capture method, transparency may not work. Try switching the method in the properties.
Troubleshooting
| Symptom | What to check |
|---|---|
| "Spout2 Capture" doesn't appear in OBS | Check that you restarted OBS after installing the plugin |
| The sender list is empty | Check that Spout output has been started in the Viewer app |
| The video is completely black | Check that the Viewer app isn't minimized. If OBS is running as administrator, launch the Viewer app with the same privileges |
| The background isn't transparent | Turn on background transparent mode in the Viewer app. Also check that no filters are applied to the source in OBS |
| The video is choppy | Check that "Lower FPS when idle" isn't turned on in the Viewer app |
| The avatar doesn't move | Spout output only passes the video. For settings to move the avatar, see Move Your Avatar (Capture App) |